The truffle Easter egg is sensational, no doubt about it! However, let’s be honest… It’s not always possible to invest so much in a recipe. On the other hand, it’s also not worth letting this special date go blank! In this sense, it is worth betting on simple Easter egg recipes
to save and give away
. White, semi-sweet, milk chocolate, mini eggs, crunchy or even flat! Whatever your preference, the Cooking Guide has brought a recipe that is definitely worth trying. Look:
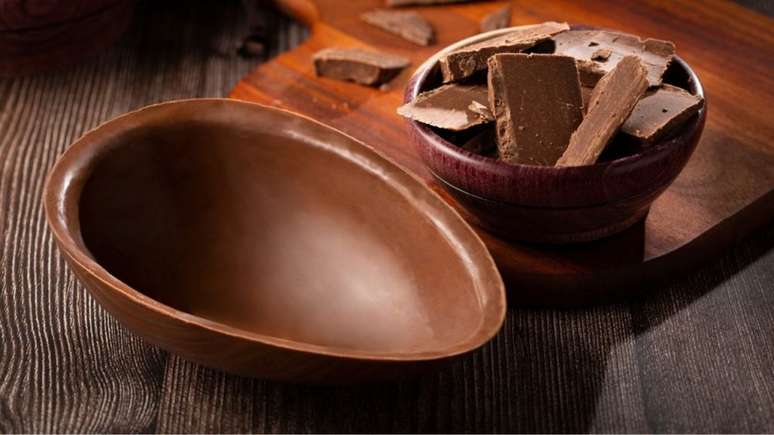
Simple bittersweet Easter egg
html[data-range=”xlarge”] figure image img.img-510cf8bd57027dd1cbcd435962572d685u35gqmg { width: 774px; height: 435px; }HTML[data-range=”large”] figure image img.img-510cf8bd57027dd1cbcd435962572d685u35gqmg { width: 548px; height: 308px; }HTML[data-range=”small”] figure image img.img-510cf8bd57027dd1cbcd435962572d685u35gqmg, html[data-range=”medium”] figure image img.img-510cf8bd57027dd1cbcd435962572d685u35gqmg { width: 564px; height: 317px; }
Simple Bittersweet Easter Egg | Photo: Shutterstock
Time:
30min (+15min in the fridge)
Performance:
1 unit
Difficulty:
easy
Ingredients:
- 300 g of finely chopped dark chocolate
- Easter egg mold
Method of preparation:
- Start by melting the chocolate in a double boiler or in the microwave.
- Meanwhile, keep stirring until it melts and becomes completely smooth.
- Pour the melted chocolate into the Easter egg mould.
- Then rotate the shape to cover the inside of the shape
- Place in the fridge for about 5 minutes or until the chocolate has solidified.
- Repeat the process of adding another layer of chocolate to the mold, turning it again to coat it in chocolate.
- Put it back in the fridge for another 5 minutes.
- Repeat the process adding another layer of chocolate and then refrigerate for another 5 minutes.
- When the chocolate is completely firm, remove the mold from the fridge and then unmold the Easter egg.
- Serve immediately.
Mini Easter egg on a stick
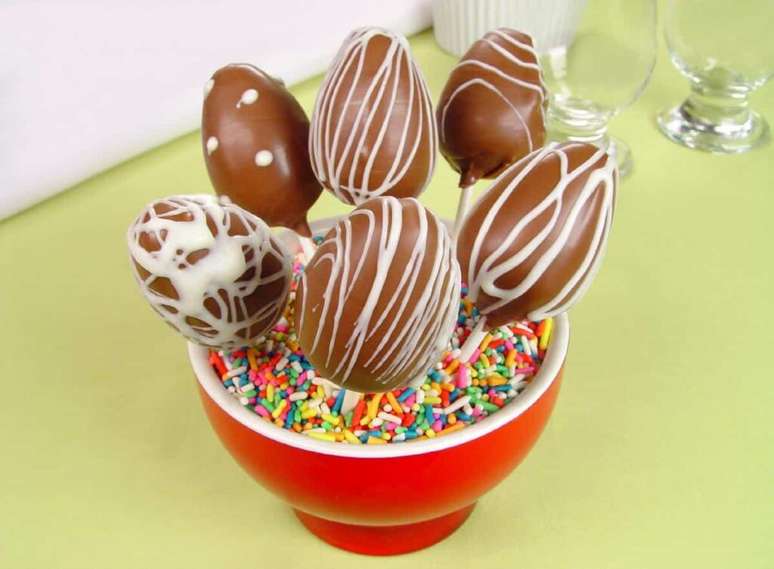
Mini Easter Egg on a Toothpick | Photo: Rodrigo Moreira
Time:
1h (+2h30 fridge)
Performance:
8 units
Difficulty:
average
Ingredients:
- 800 g of broken milk chocolate
- 100 g of broken white chocolate
Method of preparation:
- Melt the milk chocolate in a bain-marie.
- In molds suitable for Easter eggs, make a layer inside the molds using 1/3 of the chocolate.
- Refrigerate for 30 minutes.
- Remove and repeat the process one more time using another 1/3 of the chocolate and refrigerate for another 30 minutes.
- Carefully unmold the eggs, put the halves together and attach the bases with ice cream sticks.
- Dip once again in the remaining chocolate and refrigerate for another 30 minutes.
- Melt the white chocolate in a bain-marie, put it in a pastry bag with a fine nozzle and thread the strings over the eggs, decorating.
- Refrigerate for another 1 hour before serving.
White chocolate colored egg

Colored White Chocolate Egg | Photo: Lirian Padova
Time:
1h (+1h of fridge)
Performance:
6 units
Difficulty:
easy
Ingredients:
- 600 g of melted white chocolate
- Chocolate coloring in the desired colors of your choice
- Polishing gel for brushing
- Crystalline sugar for dusting
Method of preparation:
- Divide the chocolate into as many parts as you like and dye with chocolate dyes in the chosen colors until you reach the desired shade, reserving a part of the chocolate without dyeing.
- Place the colored chocolates, separately, in plastic bags and cut off one thin end.
- Make lines with different colors on 12 x 50g Easter egg stencils.
- Cover the colored scratches with a layer of white chocolate and refrigerate for 30 minutes.
- Remove, brush another layer of white chocolate and put back in the fridge for 30 minutes.
- Unmold, add the egg halves, brush with glitter gel and dust with granulated sugar.
- Serve immediately.
easter egg plate

Easter egg on plate | Photo: Rodrigo Moreira
Time:
30min (+2h of fridge)
Performance:
8 portions
Difficulty:
easy
Ingredients:
dark cream
- 150 g of chopped milk chocolate
- 100 g of chopped semi-sweet chocolate
- 1 cup of Nutella®
- 1 jar of cream
- 100 g of white chocolate to decorate
white cream
- 1 can of condensed milk
- 1 teaspoon salted butter
- 1/2 cup chopped roasted cashews
- 1 jar of cream
Roof
- 150 g of chopped milk chocolate
Method of preparation:
- For the white cream, pour the condensed milk, butter and chestnuts into a saucepan and bring to the boil, stirring.
- Cook for 3 minutes from the start of boiling.
- Turn off, let it cool and mix the milk cream.
- For the dark cream, mix the milk chocolate with the semi-sweet chocolate and melt in a bain-marie.
- Add the Nutella® and the cream, mixing until a homogeneous mixture is obtained.
- Make a layer on the bottom of a small refractory with half of this cream.
- Spread the white cream and cover with the rest of the dark cream.
- For the coating, melt the milk chocolate in a bain-marie and spread the dark cream over it.
- Refrigerate for 2 hours or until dry and crusty.
- Melt the white chocolate in a bain-marie and decorate by forming diagonal lines. Serve.
Crispy Easter Egg
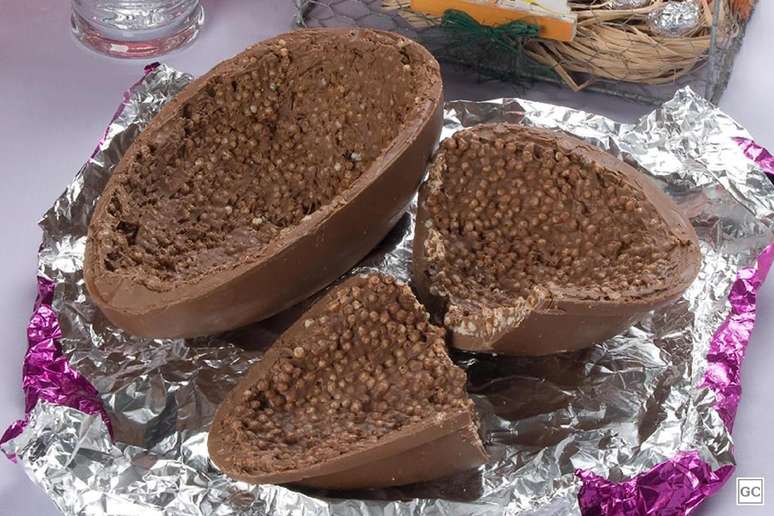
Crispy Easter Egg | Photo: Áurea Soares/Photographic Empório
Time:
50min (+6h rest)
Performance:
2 units
Difficulty:
easy
Ingredients:
- 2 cups milk chocolate (chopped)
- 1 cup semisweet chocolate (chopped)
- 1 cup rice flakes (tea)
Method of preparation:
- In a stainless steel bowl, melt the chocolates in a bain-marie, being careful not to overheat them.
- Remove from heat and continue stirring until melted and smooth.
- Don’t stop stirring until the moment you touch the chocolate to your bottom lip, it feels cold.
- With the help of a brush heated in the oven (not too hot) make 1 layer of chocolate in an Easter egg-shaped mould.
- Turn face down on parchment paper set on a baking sheet and quickly place in the freezer.
- Wait for it to harden and repeat the operation two more times.
- On the last layer, sprinkle the rice flakes.
- To join the two parts, heat a mold slightly on the flame of the stove, pass the egg halves into it and join one part to the other.
Source: Terra
Ben Stock is a lifestyle journalist and author at Gossipify. He writes about topics such as health, wellness, travel, food and home decor. He provides practical advice and inspiration to improve well-being, keeps readers up to date with latest lifestyle news and trends, known for his engaging writing style, in-depth analysis and unique perspectives.

