Turn PET bottles into useful items for your garden
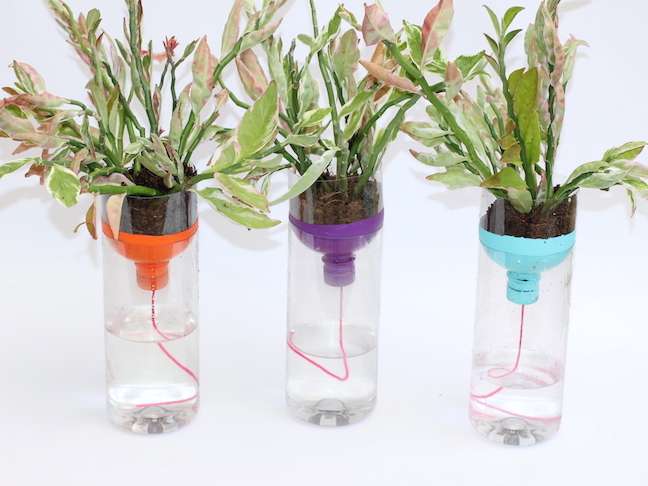
If your plants end up suffering from your forgetfulness, vases self-irrigating can be the solution to keep your garden alive and beautiful.
They help you carry out the main task of having a successful harvest – watering. And to make this novelty even better, you can build them following a simple DIY project.
Here’s how you can make your own self-watering pots:
Materials:
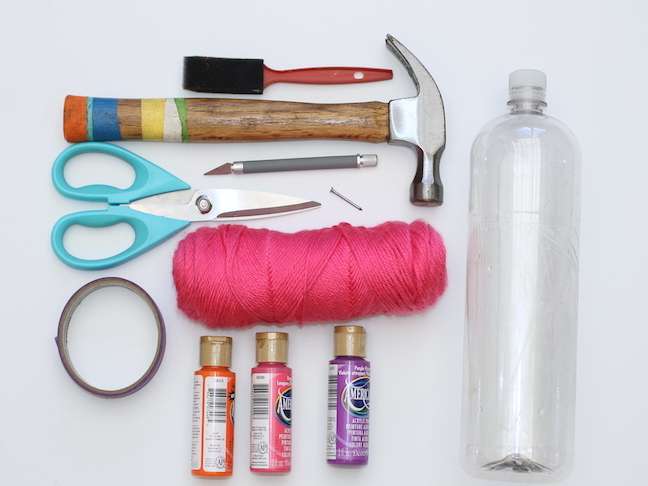
- clean bottle
- craft paint
- Brush tool
- twine or thread
- Scissors
- Nail
- Hammer
- stiletto
- Scotch tape
- Small plant
- Substrate
Instructions:
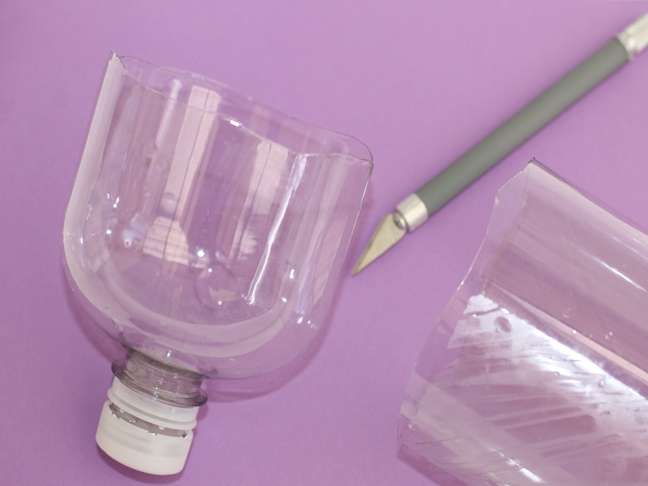
With the utility knife, cut the top third of the plastic bottle.
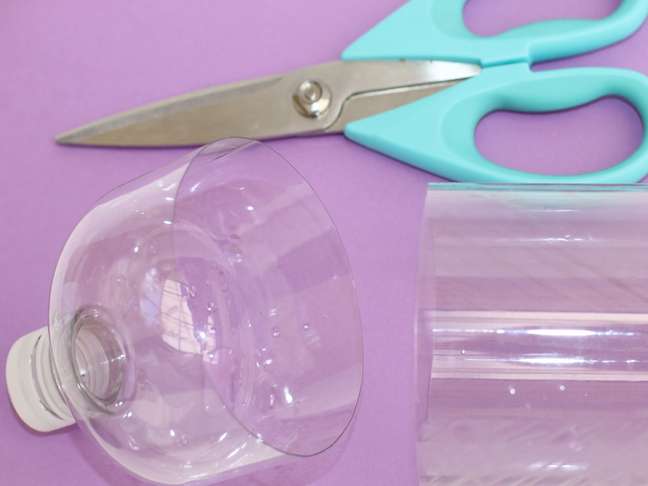
Even the edges with scissors.
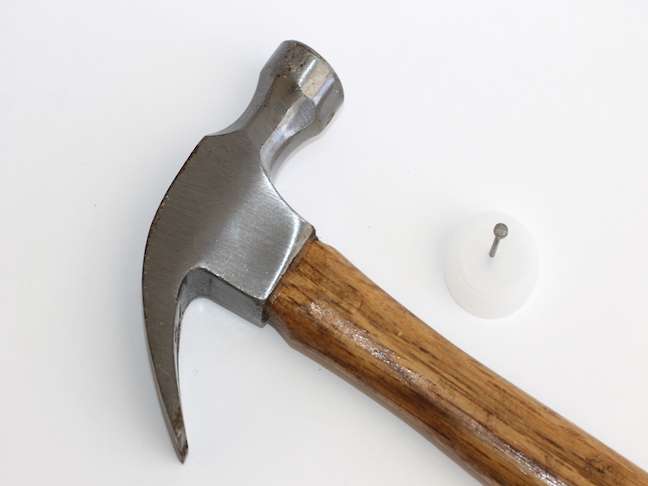
Hammer your fingernail into the plastic cap of the bottle. Make a very large hole by nailing the top a couple of times. This way, you can easily run the thread through it.
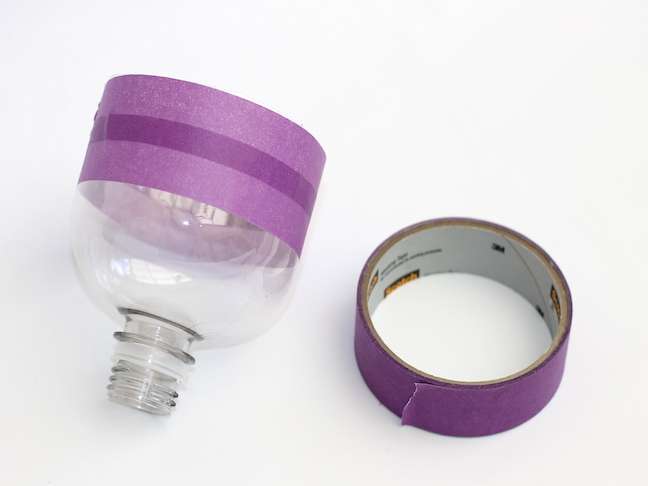
Wrap duct tape around the top edge of the bottle.
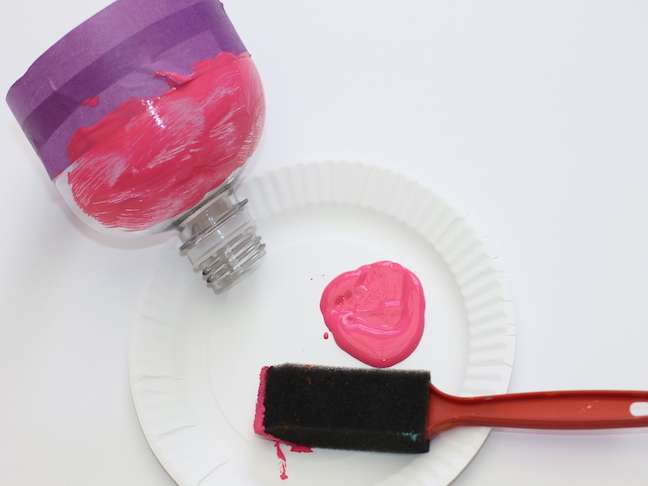
Paint the top (it may take two or three coats) and let it dry.
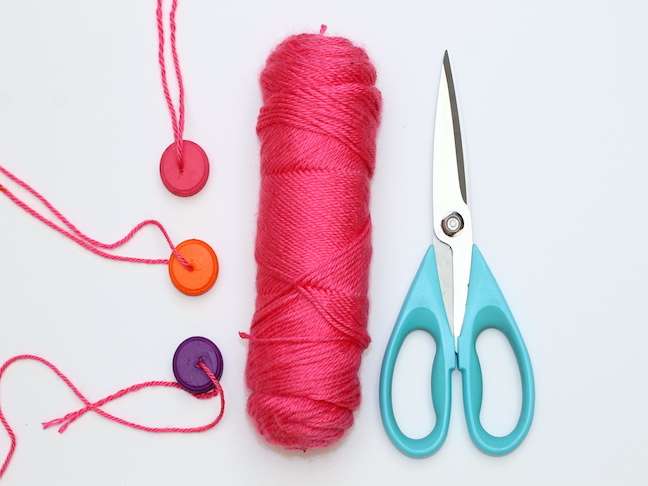
Paint the lid and wait for it to dry.
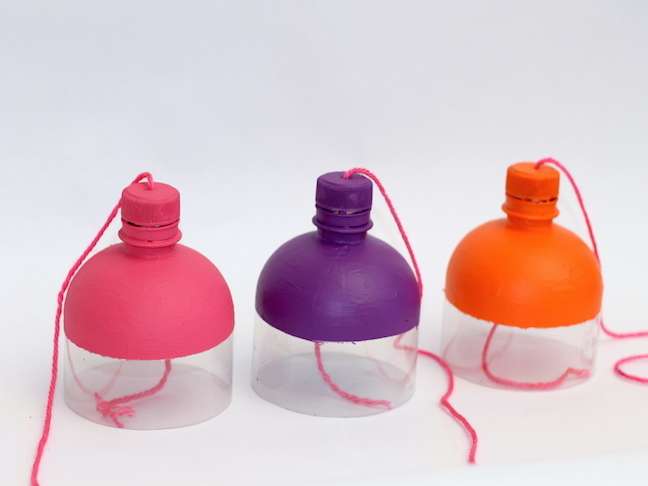
Thread a 30 cm thread through the cap and place it back on the bottle.
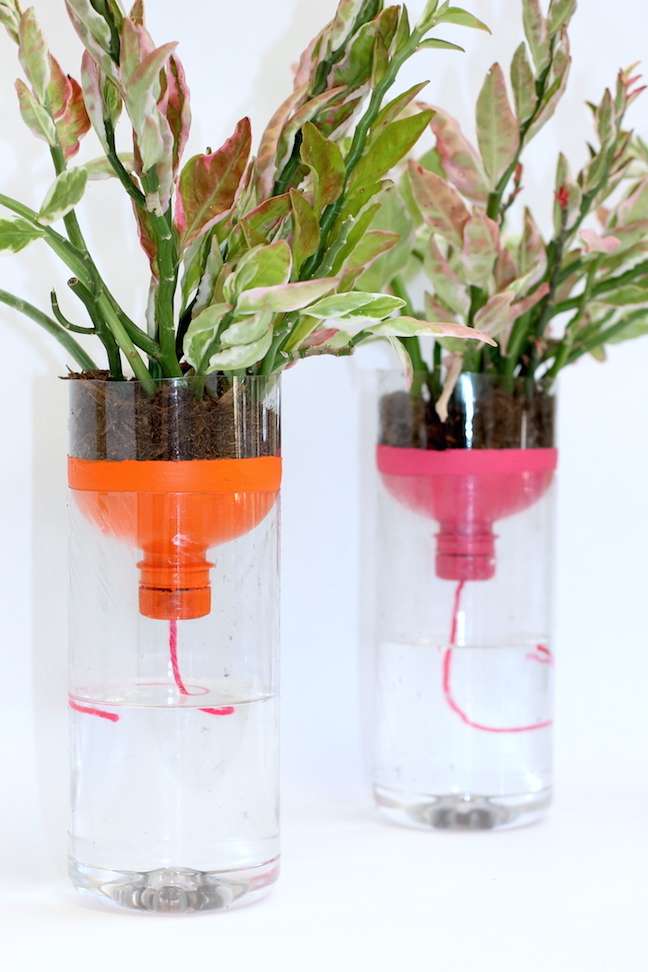
Pour some water into the bottom half and put soil on top of the bottle and plant your seedling. Then place the top of the bottle inside the bottom and voila!
* Via Momtastic
Source: Terra
Benjamin Smith is a fashion journalist and author at Gossipify, known for his coverage of the latest fashion trends and industry insights. He writes about clothing, shoes, accessories, and runway shows, providing in-depth analysis and unique perspectives. He’s respected for his ability to spot emerging designers and trends, and for providing practical fashion advice to readers.


