Learn how to take a screenshot of your notebook screen from brands like Samsung, Lenovo, Acer, Dell, Positivo and Asus
Take screenshots (or prints) of what’s happening on your screen notebook it’s an essential skill for many users.
Whether you want to share information, solve problems, or save special moments, knowing how to do it is essential. However, the way of taking screenshots may vary depending on the brand of your computer.
In this guide we present step-by-step tutorials for several popular brands, including SAMSUNGLenovo, Acer, Dell, Positive, HP, Asus and MacBook. Let’s explore how to accomplish this task in each of them.
How to take a screenshot on a Samsung notebook

If you have a Samsung, taking a screenshot is simple. You can choose from the following methods.
- Many Samsung notebooks have a key called PrtSc (Print screen) OR Stamp next to the function keys;
- Press this key to capture the entire screen;
- Capture selected area: if you want to capture only part of the screen, press Alt + PrtSc to activate the tool. Then select the desired region;
- For those who like shortcuts, you can press keys Windows+Shift+S.
How to take a screenshot on a Lenovo notebook
Taking a screenshot on a Lenovo notebook is possible with a few simple options.
- First you can press the PrtSc key, which is usually located at the bottom right of the keyboard;
- After doing this, you can paste the image from the clipboard into another application using the Ctrl + V shortcut;
- Another alternative is to press Windows + PrtSc, which will capture the screen and automatically save the image to your device’s Pictures folder.
- Additionally, there is a Snipping Tool where you can press Windows + Shift + S. This will open the Snipping Tool allowing the user to select a specific part of the screen with the mouse or capture an open window.
It is important to remember that in some models of the X1 Carbon line the Print Screen button may be absent. In this case, the shortcut for taking a screenshot is replaced by Fn+T.
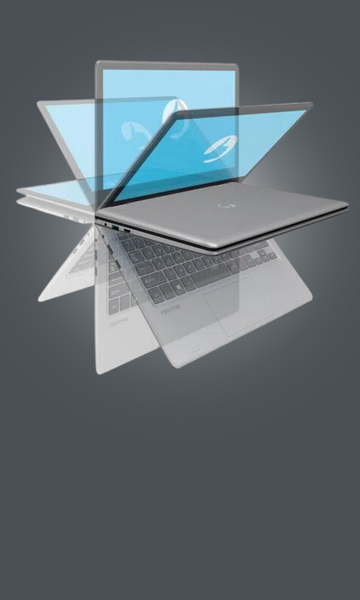
Is it worth buying a 2 in 1 notebook?
How to take a screenshot on an Acer notebook

To take a screenshot on a computer Aceryou can follow the following steps:
- Press the PrtSc key, located at the top right of the keyboard.
- Use Ctrl + V to paste the capture into an application of your choice.
- If you prefer to automatically save your capture to the Pictures folder, press Windows + PrtSc.
- Another option is to press Windows + Shift + S to open the Snipping Tool, which allows you to manually select the area you want to record on the screen using the mouse.
Please note that these shortcuts may vary depending on the specific model of your Acer notebook. Try these options and choose the one that best suits your screenshot needs.
How to take a print on a Dell laptop
Taking a screenshot on a Dell notebook requires a few steps. Watch:
- Press the PrtSc key, usually located at the top right of the keyboard;
- Once captured, the image will be stored in the clipboard. To paste the image into another application, use the shortcut Ctrl + V;
- If you want to capture the screen and automatically save the image to the Pictures folder, press Windows + PRINT;
- Another option is to use the command Windows + Shift + S to open the capture tool.
These connections may vary slightly depending on your specific Dell computer model. Try these options and choose the one that best suits your screenshot needs.
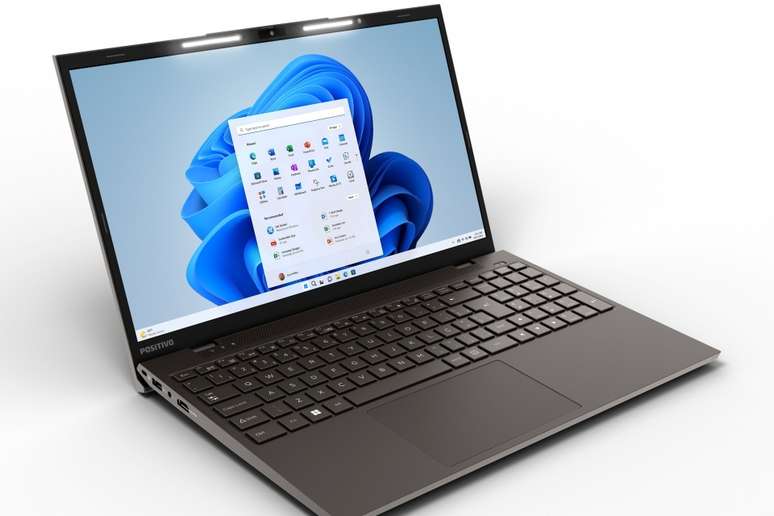
How to print on a Positivo notebook

For take a screenshot on a Positive machine, follow these steps:
- Locate the PrtSc key, usually at the top right of the keyboard;
- Press PrtSc to capture the entire screen;
- The captured image will automatically be stored in the clipboard;
- To paste the image into an application, use the shortcut Ctrl + V;
- If you prefer to automatically save your capture to the Pictures folder, press Windows + PrtSc;
- In some specific configurations, you may need to press Fn+PrtSc to capture the screen;
- Another alternative is to use the command Windows + Shift + S to open the Capture Tool. With this option you can manually select the part of the screen you want to capture, using the mouse, or choose an open window.
Please note that shortcuts may vary slightly depending on the configuration of your Positivo notebook. Experiment with these options to determine which method works best for your screenshot needs.
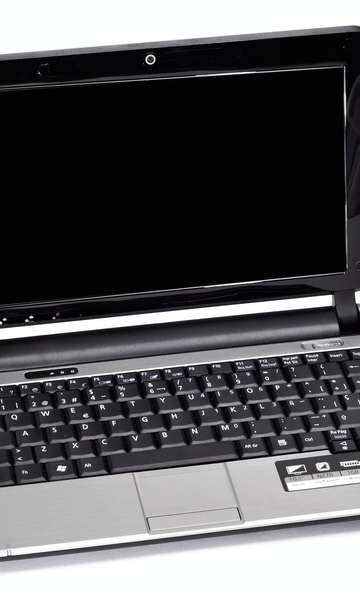
7 ways to reuse your old notebook
How to take a print on your HP notebook
To take a screenshot on an HP device, follow these steps:
- Press the PrtSc key, located in the top right corner of the keyboard;
- The captured image will be copied to the clipboard;
- Use the Ctrl + V shortcut to paste the image into another application, such as Paint;
- If you want to automatically save the capture, press Windows + PrtSc. The image will automatically be stored in the Pictures folder.
Another alternative, found on most devices, is to use the Windows+Shift+S command to open the capture tool.
How to take a screenshot on an Asus notebook:
To take a screenshot on an Asus notebook, find the PrtSc key, located at the top right of the keyboard.
- After pressing the PrtSc key, the captured image will be stored in the clipboard;
- Use the Ctrl + V shortcut to paste the image into another application, such as Paint;
- Now, if you want to automatically save the capture to the Pictures folder, press Windows + PrtSc.
This computer also has the Windows + Shift + S alternative to open the capture tool. The function allows you to manually select a part of the screen with the mouse or capture one of the running windows.
How to take a printout in the Multilaser notebook

For this brand, see the step-by-step guide to take a screenshot of your notebook screen.
- Press the PrtSc key on your keyboard. Once this is done, the screen will become white and a kind of pointer will replace the mouse arrow;
- Use the new pointer to select the part of the screen you want to capture;
- After selecting the desired area, open the Paint program or another application of your choice;
- Paste the screenshot into the program using the Ctrl + V shortcut.
Now you can save the image in the folder of your choice, as you see fit.
How to take screenshots on MacBook
To take screenshots on a MacBook, you will have to use the specific shortcuts since there is no Print Screen key on the keyboard. Here are instructions for taking screenshots on your computer. Apple:
Full screen:
- Press Command + Shift + 3 keys at the same time. This will take a screenshot of your entire MacBook screen;
- The captured image will automatically be saved to your desktop.
Screenshot of part of the screen:
- Press Command + Shift + 4 keys at the same time.
- The mouse cursor will turn into a cross. Use your mouse to select the area of the screen you want to capture.
- The selected image will automatically be saved to your desktop.
The shortcuts mentioned are the default options for taking screenshots on a MacBook. Note that you can also find additional shortcuts and customize screenshot settings in System Preferences.
With this information, you can easily take screenshots on your MacBook and explore additional options available in Apple’s operating system.
Source: Terra
Rose James is a Gossipify movie and series reviewer known for her in-depth analysis and unique perspective on the latest releases. With a background in film studies, she provides engaging and informative reviews, and keeps readers up to date with industry trends and emerging talents.


