Find out how to prepare one of the tastiest and easiest snacks: the cheese ball, with real cheese
CHEESE CAKE – an easy to make snack, with real cheese
Recipe for 2 people.
Classic (no restrictions), Vegetarian
Preparation: 01:00 + FRYING TIME extra portions
Interval: 00:00
TOOLS
1 bowl(s), 1 pan(es), 1 grater (optional), 1 baking tray(s) (auxiliary), 1 slotted spoon, 1 kitchen thermometer (optional), 1 rack (or strainer)
EQUIPMENT
conventional + processor (optional)
METERS
cup = 240 ml, spoon = 15 ml, teaspoon = 10 ml, teaspoon = 5 ml
Ingredients for the cheese balls:
– 25 g of wheat flour
– 7.5 g of unsalted butter
– 100 g of mozzarella, grated or processed
– 75 g of cheese, grated or processed
– 75 g of grated or processed parmesan
– 1/2 unit of egg
– Salt to taste
– pepper to taste
Ingredients FOR THE BREADING:
– breadcrumbs to taste
THE
FRYING INGREDIENTS
– oil to taste
PREPARATION:
- Separate the utensils and ingredients for the recipe. The yield for 1 entire recipe (4 servings) is 40 cheese balls of 15 g each.
- Process or grate the cheeses.
PREPARATION:
CHEESE BALL – Preparation of the dough:
- In the bowl, or in the food processor, where the grated or processed cheeses are located, mix the flour, butter and egg(s) and mix.
- Season with salt and pepper.
- Blend in the food processor or knead with your hands until a smooth dough forms: test by forming a ball.
CHEESE BALL – Sandwich and Bread:
- Using 1 spoon (about ¾ of the volume), take a portion of the dough and form a ball weighing 15 g, rolling it with your hands.
- Repeat the operation with the entire dough.
- Place the breadcrumbs on a plate and cover the balls.
- Place the balls on a baking tray lined with baking paper, without overlapping them.
- At this point the meatballs can be fried for immediate consumption, or frozen.
- To freeze them, place them in the freezer on the tray, keeping them separate and placed on the baking paper so that they do not stick together and when they are firm, transfer them to a plastic bag. They can be stored in the freezer for 30 days and can be fried without thawing.
CHEESE BALL – Fry (do this step just before serving):
- Heat a pan with oil, enough for frying.
- Heat the oil well: if you can, measure the temperature: 180°C.
- Arrange the balls in small quantities proportional to the size of your pan.
- Brown it on one side and turn it with a slotted spoon to brown the other.
- Let it drain on a rack or colander.
- Dry well with absorbent paper.
FINALIZATION AND ASSEMBLY:
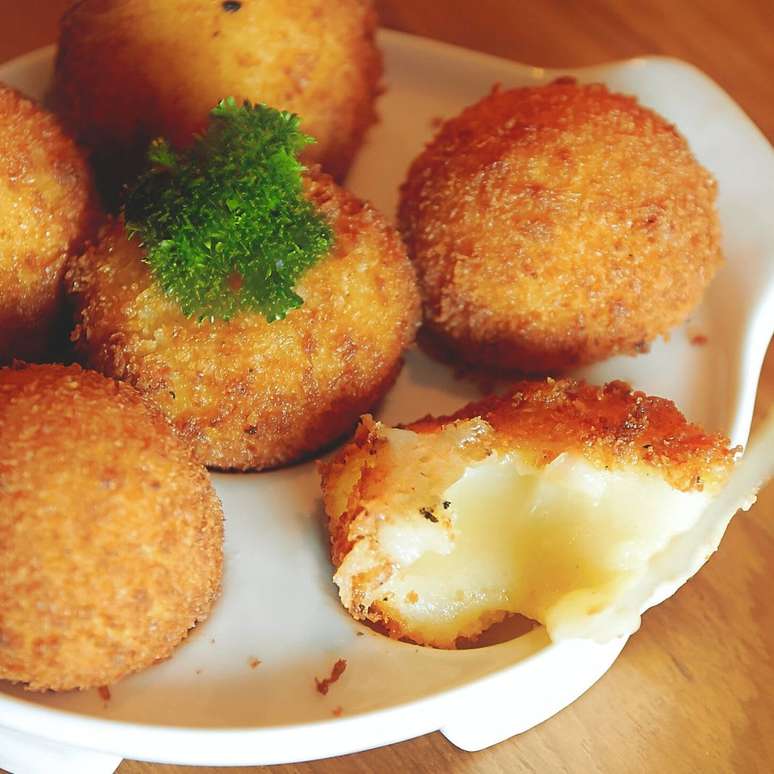
- Serve the cheese balls warm so that they are well melted and have a soft bite when bitten.
a) These ingredients may contain traces of products of animal origin. Some brands may contain products of animal origin or tested on animals. Therefore, we advise you to read the labels of this ingredient(s) and others that may not be marked very carefully and to choose brands free of substances of origin or practices associated with animals. Make sure the products contain only milk and/or eggs and no other animal-derived substances.
Do you want to make this recipe? Access the shopping list, HERE.
To see this recipe for 2, 6, 8 people, Click here.
Create your personalized menu for free on Bake and gourmet cakes.
Source: Terra
Ben Stock is a lifestyle journalist and author at Gossipify. He writes about topics such as health, wellness, travel, food and home decor. He provides practical advice and inspiration to improve well-being, keeps readers up to date with latest lifestyle news and trends, known for his engaging writing style, in-depth analysis and unique perspectives.


