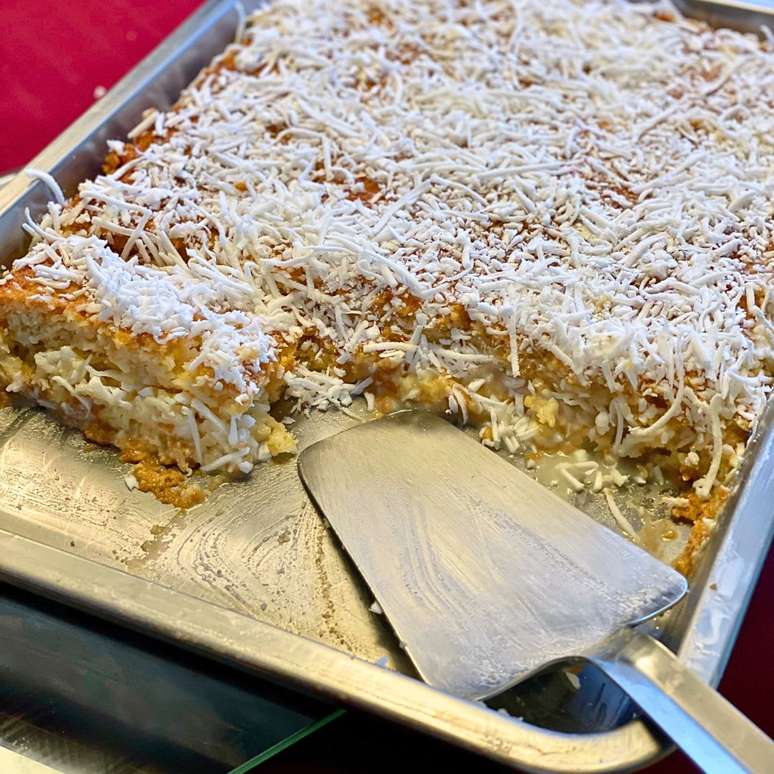
Retro party classic, the coconut cake has a creamy filling and a flavor that shines. Prepare, taste and go back in time
Directed by the parties of the 80s: coconut cake with a lot of cream and fresh coconut. Serve on the plate or wrapped with charm – see step by step and go back in time
Enter for 6 people.
Classic (no restriction), vegetarian
Preparation: 01:10 + time to freeze
Interval: 00:40
Tools
1 bowl (s), 1 orange juice, 2 sifting (- one for eggs), 1 spatula (s), 1 pan (s), 1 pan, bread knife or large bread to cut the cake (optional)
EQUIPMENT
Conventional + fruit squeeze (optional) +
Meters
Cup = 240 ml, spoon = 15 ml, teaspoon = 10 ml, coffee spoon = 5 ml
Coconut cake pasta ingredients:
– 6 units (s) large eggs
– 3 cups (s) (tea) of wheat flour
– 3 cups of sugar
– 6 tablespoons (s) of corn starch
– 3 tablespoons (s) (tea) of powder cooking
– 1 cup (s) (tea) of orange juice
Ingredients to gain weight:
– Oil to taste
Cream for ingredients with condensed milk:
– 510 ml of milk
– 1 milk with condensate
– 3 units (s) Eggs – Sound to Gem (S)
– 3 tablespoons of corn starch
Syrup for ingredients to wet the cake:
– 390 ml of coconut milk
– 2 cups (s) of milk
– 6 tablespoons of sugar
Ingredients to assemble:
– 360 g of fresh or hydrated grated coconut
Pre-repair:
- Preheated the oven at 180 ° C.
- Prepare the filling cream as it must cool (see preparation).
- Grease and cover the shapes or refractors with gainhed parchment paper.
- For 1 entire recipe (06 portions), use two 20×30 cm shapes and divide the mass equally (or 1 large form of 45×30 cm). The yield is 35 pieces.
- Separate the ingredients from the cake and syrup.
- Sift the dried ingredients of the dough (wheat flour, corn starch and powder yeast).
- Extract orange juice and sieve.
PREPARATION:
Delicious cream for the filling (pre-opening):
- In a pan without fire, mix condensed milk, sifted yolks, dissolved milk and starch.
- Cook over low heat, stirring constantly until it thickens and reduces almost half.
- Cover with a plastic casing near the cream and set aside until it cools while preparing the cake.
- Return to pre-preparation.
Coconut ice cake pasta:
- Beat the eggs with the sugar until the triple volume.
- Gradually add the orange juice by thread, beating at least.
- Remove the bowl from the mixer and gently incorporate the drying with a sieve in parts. With each addition, mix from the bottom to the top to mix without losing the eggs.
- Transfer to the prepared shapes and bake in a preheated oven 180oc for about 35 minutes or until the fork/stick is dry when it is positioned in the center of the cake.
- It increases time if necessary (for larger cakes, time can reach up to 50 minutes).
- While the cake cooks, prepare the syrup.
Syrup to make the cake very wet:
-
Mix the ingredients of the syrup well in a container and set aside in the refrigerator.
Final assembly:
- Once the cake is cooked, turn off and let it cool slightly inside the oven. Remove and wait completely cold to assemble.
- With the cold and cold cake, pitted and remove the parchment paper. Cut the sides of the cake a little so that it can better absorb the syrup.
- Cut the cake in half in the horizontal direction you have chosen to do in 1 shape. Set the upper layer of the cake with the “cone” downwards inside the pan. Moisten with half of the syrup, spread the whole cream, sprinkle with grated coconut and cover with the second part of the cake – with the most golden part.
- Hummer with a fork, it rains with the remaining syrup and finish with more grated coconut.
- Cover and keep in the refrigerator for at least 4 hours before serving.
Finishing and assembly:
- To serve, cut the cold coconut cake using a slightly moistened knife to ensure a clean and uniform finish or see under the variation wrapped.
- Serve very cold.
🌀 Variation: Ghiaia cake wrapped (80s style)
For a classic and nostalgic presentation:
- After freezing, cut the cake into equal squares.
- Wrap each piece on an aluminum sheet.
- Keep in the refrigerator until the moment to serve.
Retro Tip: Use cracks or colorful aluminum colored ribbon for commemorative look.
Extra suggestions:
- It can be frozen for a maximum of 10 days (if made with fresh ingredients).
- Ideal for holidays, sales or to relive childhood flavors.
Do you want to make this recipe? Access the shopping list, HERE.
To see this recipe for 2, 6, 8 people, Click here.
Assemble your personalized and free menu, in Cook and gourmet cake.
Source: Terra
Ben Stock is a lifestyle journalist and author at Gossipify. He writes about topics such as health, wellness, travel, food and home decor. He provides practical advice and inspiration to improve well-being, keeps readers up to date with latest lifestyle news and trends, known for his engaging writing style, in-depth analysis and unique perspectives.


