
Technology millionaire seeks to lower his age by 28 years; understand!

Instagram goes offline and generates memes on social media
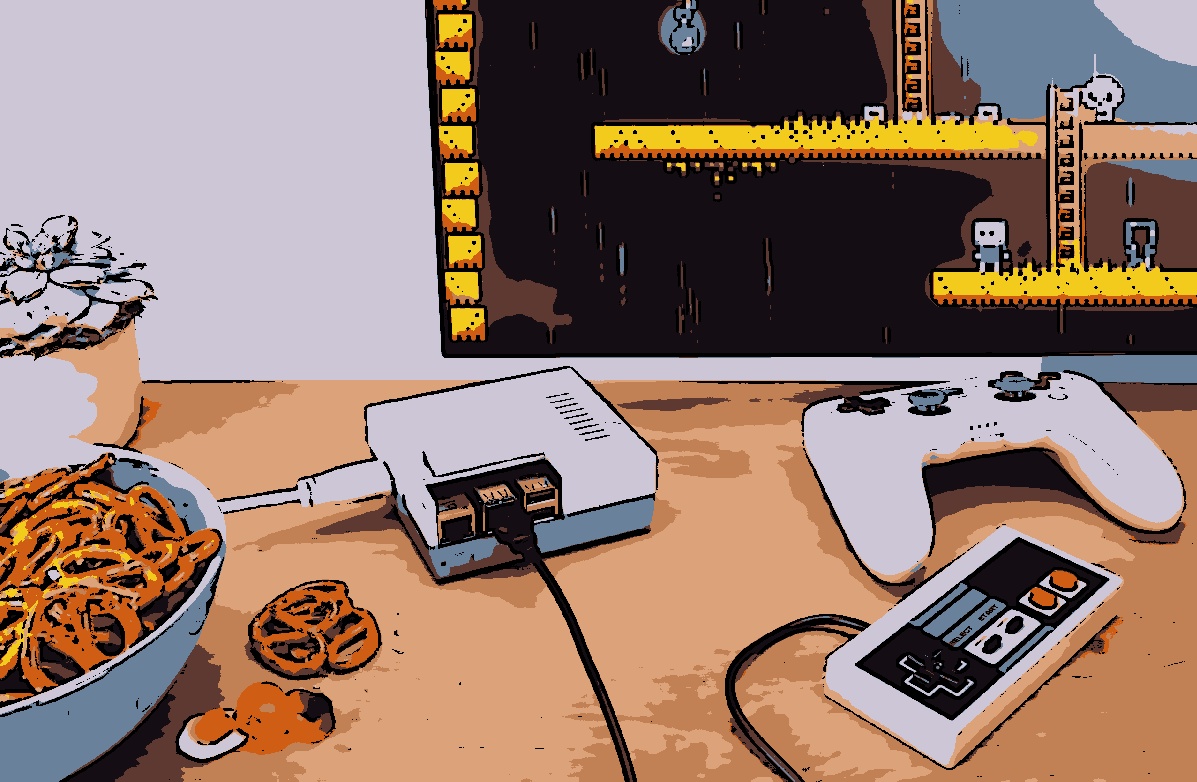
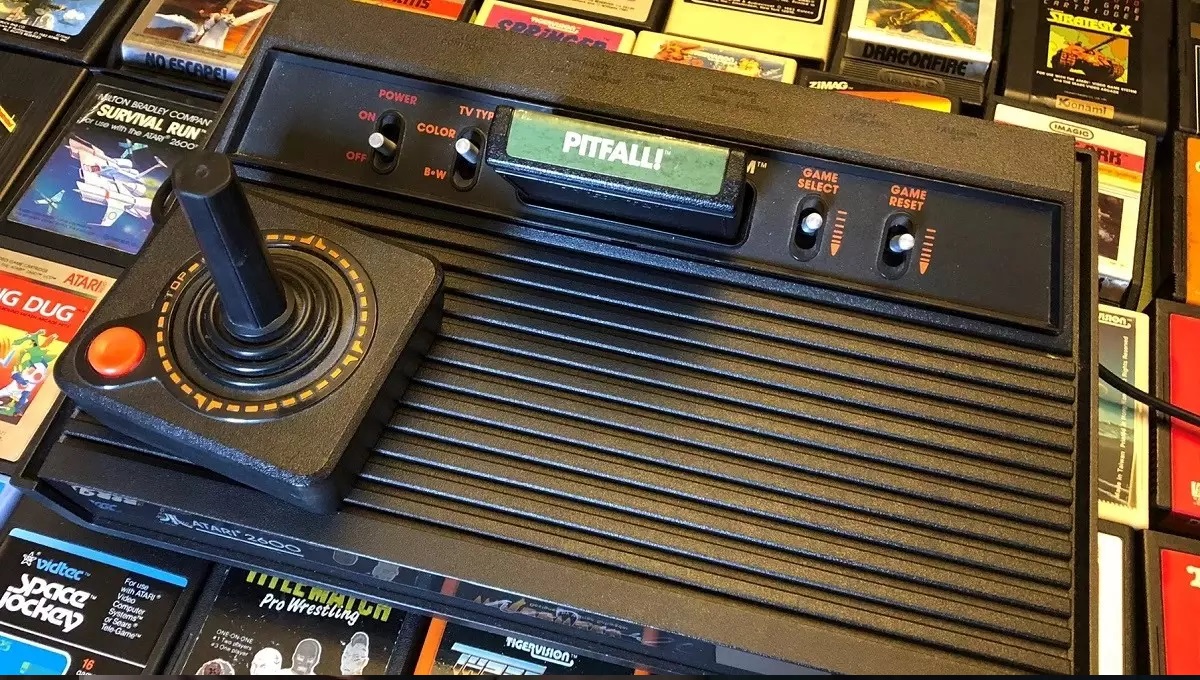
If you’re a retro video game enthusiast and own a Raspberry Pi in hand, you are about to dive into an exciting journey. This small single-board computer is a versatile platform that can be transformed into a gaming console. video game classic from the 80s and 90s, like Atari, Master System, mega drive (also known as Sega Genesis) and Nintendo. Here is a simple guide on how to create your own retro console using the Raspberry Pi.
What You’ll Need:
Raspberry Pi: Any model of Raspberry Pi will work, but it is recommended to use the Raspberry Pi 3 or higher for better performance.
microSD card: A card of at least 16 GB is recommended for storing games and the operating system.
Power Supply and Cables: Make sure you have the appropriate power supply for the Raspberry Pi and the cables needed to connect the video and audio output to your TV or monitor.
USB Controller: For an authentic experience, you can use USB controllers compatible with the system you want to emulate, such as a Atari joystickControl of mega driveetc.

Steps to Create Your Console:
Prepare the Raspberry Pi: Start by installing the Raspbian operating system on your microSD card using the Raspberry Pi Imager or similar software. Make sure the Raspberry Pi is working correctly.
Install an Emulator: There are emulators available to replicate the experience of classic consoles. For example, you can use the RetroPie, which is a distribution of Raspbian designed specifically for emulating retro video games. Follow the installation instructions provided by the RetroPie.
Load Games: You can find ROMs (game image files) for free on several websites dedicated to emulation. Make sure you have legal copies of the games you want to play. Copy the ROMs to your Raspberry Pi using a microSD card or a network connection.
Configure the Controllers: Connect your USB controllers and configure them according to your preferences in the emulator configuration menu.
Start Emulation: After setup, you’re ready to go. Launch the emulator and select the games you want to play from the menu.
Enjoy Classic Games: Now, you can enjoy classic games from Atari, Master System, Mega Drive or Nintendo on your TV or monitor using the Raspberry Pi like your retro console.
Keep in mind that game emulation may be subject to copyright regulations in your region, so it’s important to only use ROMs from games that you have legal copies of. As Raspberry Piyou can relive the nostalgia of video games classics and share this experience with friends and family, all in a low-cost and highly customizable project. Have fun remembering the old times!
Source: Atrevida
Earl Johnson is a music writer at Gossipify, known for his in-depth analysis and unique perspective on the industry. A graduate of USC with a degree in Music, he brings years of experience and passion to his writing. He covers the latest releases and trends, always on the lookout for the next big thing in music.


