Find out how to apply the product correctly and in just a few steps
Grout is a substance applied to fill spaces between pieces of cladding, such as tile, ceramic and porcelain tile. Its function is to guarantee stability, preventing the infiltration of water and dirt, while contributing to the aesthetics of the environment.
Over time the stucco may become worn and require renovation to maintain its protective and aesthetic properties. Rodrigo Pothin, CMO of Loja do Mecânico – a multi-channel platform for machines and tools – has prepared a practical guide to renew mortar, efficiently and safely. Watch!
1. Choose new mortar
Before starting the process, It is important to choose the type of mortar suitable for your floor. There are different types on the market, such as acrylic, epoxy and cement-based. Each one has specific characteristics and is suitable for different use situations. So, check the manufacturers’ recommendations and evaluate your needs.
2. Removal tools
To remove old grout and for application From the new one, separate a manual scraper with a tungsten blade, a trowel, a damp sponge and a soft, dry cloth.
3. Removal of old mortar
Using the hand scraper, place the blade over the grout and use back and forth motions to lift the grout. old. Be careful not to damage the floor. Therefore, use the scraper gently to avoid scratches, breakages or accidents. After removing all the grout, clean the joints with the tip of the spatula until all residues have been removed.

4. Application of the mortar
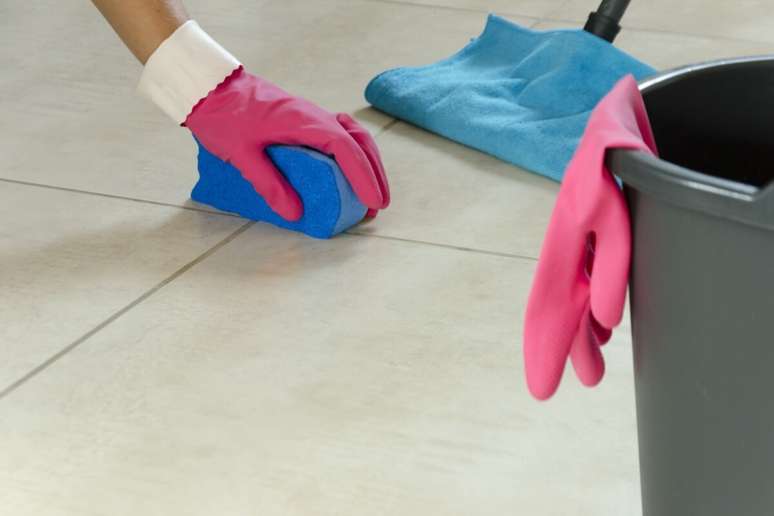
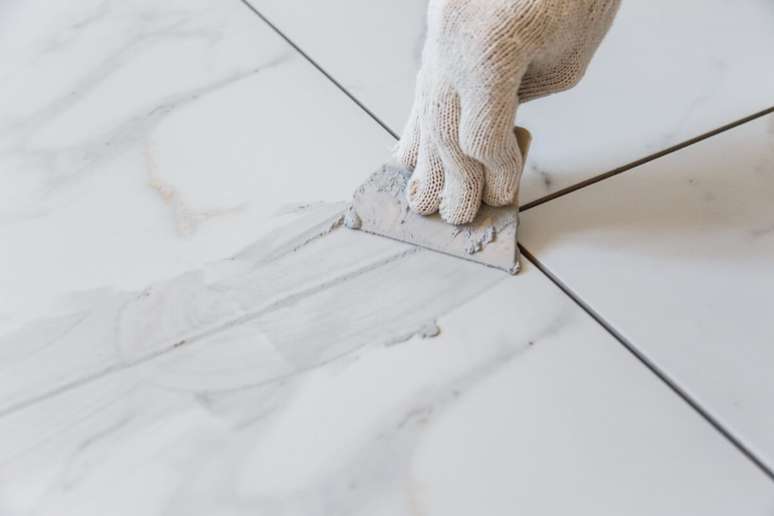
Prepare new mortar according to the manufacturer’s instructions. If desired, apply a waterproofing agent to the joints before applying the mortar. Then, use the trowel to apply the mortar between the floor, pressing firmly to fill any gaps. spaces. With a damp sponge, clean the excess grout remaining on the pieces of porcelain stoneware, ceramic or tiles, being careful not to remove the grout applied to the joints.
5. Finishing
Wait for the drying time, the so-called ‘cure’, as indicated by the grout manufacturer. In general, this process takes about 48 hours. Use a soft, dry cloth to remove any residue left on the floor ready.
By Wendy Oliveira
Source: Terra
Ben Stock is a lifestyle journalist and author at Gossipify. He writes about topics such as health, wellness, travel, food and home decor. He provides practical advice and inspiration to improve well-being, keeps readers up to date with latest lifestyle news and trends, known for his engaging writing style, in-depth analysis and unique perspectives.


