
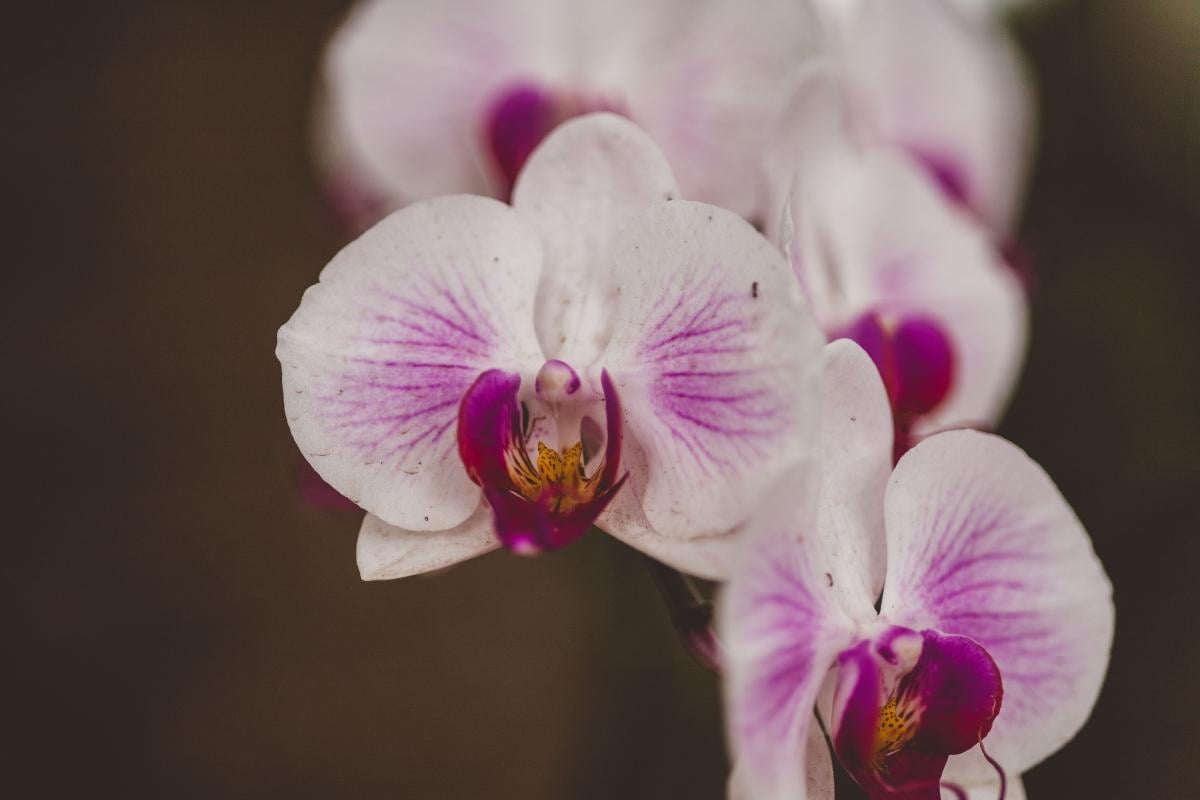
Gardener Bertrand Souchon has warned that indoor phalaenopsis orchids stop flowering when their decomposing root substrate suffocates the root system.
Writing for French gardening magazine Mon Jardin ma Maison, the horticultural specialist explained that repotting a healthy plant into a transparent pot with fresh bark often triggers new blooms after months of inactivity.
Many indoor gardeners encounter the problem after years of reliable displays. The orchid continues to produce thick green foliage, convincing owners that the plant remains healthy, but flower spikes fail to emerge.
Souchon said the fault usually lies beneath the surface. In their natural habitat, phalaenopsis orchids grow on tree trunks and require constant airflow around their roots. Potted houseplants rely on coarse wood bark to replicate these breezy conditions, but the organic material degrades over time, becoming compacted and trapping excessive moisture.
When to repot an orchid
The specialist identified three clear signs that an orchid requires immediate repotting:
- The bark in the potting mix has crumbled into fine pieces.
- Roots have turned brown, soft, or hollow.
- The substrate remains damp for more than two weeks.
Orchid specialists recommend moving a phalaenopsis into a fresh container every two to three years, ideally once the final blossoms drop. Plants should never be disturbed while actively in bloom.
Phalaenopsis orchids, commonly known as moth orchids, are native to tropical canopies across Southeast Asia and parts of Australia. Because they grow naturally as epiphytes rather than in ground soil, their specialized aerial roots contain chlorophyll and absorb both ambient moisture and sunlight, which makes transparent plastic pots essential for domestic cultivation.
How to repot an orchid
To repot the plant correctly, growers should prepare a clean, transparent pot equipped with drainage holes. The new container must measure only one to two centimetres wider than the cleaned root ball, as an oversized pot holds moisture too long and increases the risk of root rot. Dense regular potting soil must never be used.
The plant must be eased gently from its existing container so all remnants of the old bark can be shaken loose. Healthy roots appear green and firm, whereas any brown, mushy, or empty sections should be pruned away using a clean, sterile tool.
Once pruned, the roots must be left exposed for roughly one week to allow cut surfaces to dry. The orchid is then placed in the new container and secured with fresh, bark-based orchid substrate.
Caring for an orchid after repotting
Souchon said growers must not water the plant immediately following the repotting procedure. Instead, owners should wait another full week before applying moisture directly to the pot, although leaves may be misted lightly with soft water containing little lime.
After the initial settling period, misting leaves twice a week is sufficient, provided the bark dries completely between waterings. Every two weeks, the pot can be submerged in water and allowed to drain thoroughly to prevent stagnant moisture from pooling at the base.
When fresh leaves emerge in late winter or spring, growers can feed the orchid with diluted liquid fertiliser every two weeks. Souchon warned that owners should avoid altering the plant's light, room position, pot, and watering routine all at once, noting that overcare and saturated bark suppress blooms just as severely as neglect.